Ceiling Leak Water Damage in Savage, MN
A leak above runs along the joists first and drips later, so the brown patch below is only the visible end. The drying crew tracks the water to its source, relieves a sagging ceiling and dries each joist bay.
(888) 432-4933Ceiling dripping? Reach a crew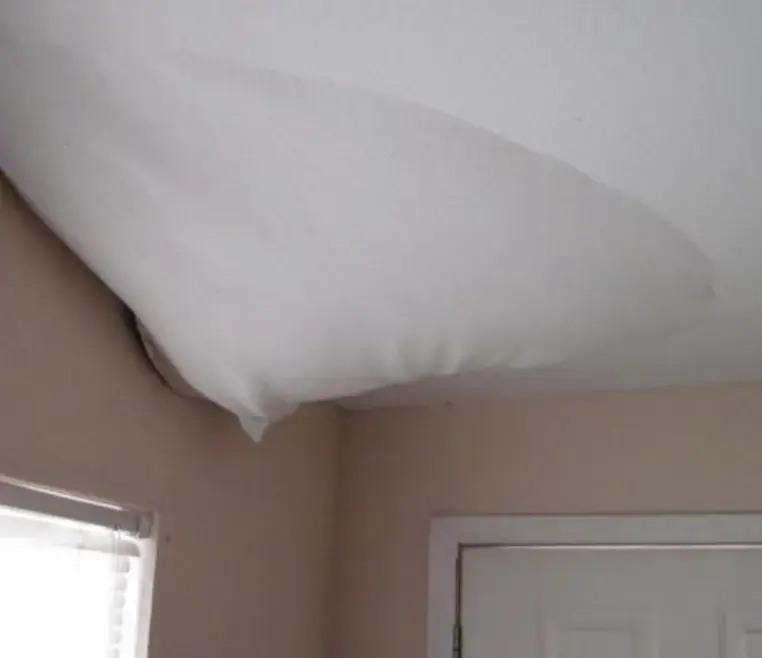
The brown ring on a ceiling is the smallest part of the problem. Water from a bathroom, a supply pipe or a laundry room above travels along the joists and soaks insulation long before a drip shows.
First steps for ceiling leak water damage in Savage
Stop the water above
Close the fixture valve, or the main if the source is unclear.
Move out from below
People, pets and furniture should leave the area under a bulge.
Turn off the lights
Switch off fixtures under the leak at the breaker, but only if the panel is dry.
Take pictures
Capture the stain, the source above and anything damaged below.
How ceiling leak water damage is handled in Savage
The tech who does the walkthrough maps moisture before any equipment goes down, so the drying plan matches what is actually wet. Equipment stays until the readings say dry, not until it looks dry.
- 1
Make it safe
Drain trapped water and clear the area beneath the sag.
- 2
Chart the spread
A thermal camera follows water along joists and into walls.
- 3
Cut out failures
Weak drywall and soaked insulation come down; sound board stays.
- 4
Dry each bay
Air is forced through the cavities until readings fall to the goal.
Where leaks from above start in Savage
In Savage's 2,486 attached homes, such as townhomes, a leak in one unit can drip into the unit below. Detached houses have their own pattern, with a full bath or laundry room sitting above a living space. Water that comes from outside is a different job, covered on roof leak water damage.
- A toilet seal or supply hose that weeps on an upper floor.
- A tub drain or shower pan that lets water into the floor.
- A washer hose that bursts while the machine runs.
- A supply pipe in the floor framing that splits.
Stopping the sag safely
Water held by drywall is heavy, and a ceiling can come down with no warning. The tech clears the room below, then makes a small hole at the lowest point so the water drains into a bucket. A thermal camera and meters follow the moisture along the joists. Board that has lost its strength is cut out, wet insulation comes out of the bay, and the rest is dried by pushing air through the cavities while LGR dehumidifiers work the room.
- Ceiling lights over the wet area stay off until they are inspected.
- Insulation is replaced after the bay reads dry.
- Meter readings are written down daily until the framing is at goal.
What the claim needs
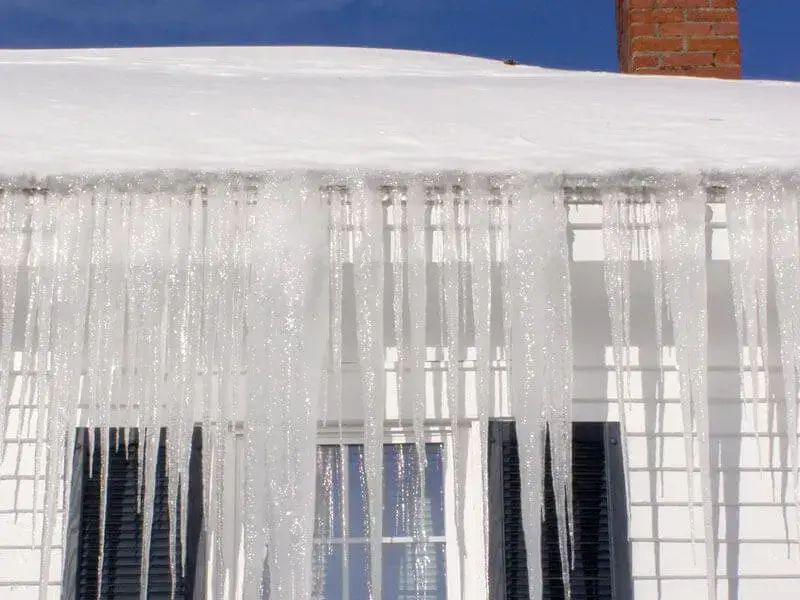
An insurer usually separates a sudden hose or pipe failure from a drip that rotted wood over months. Pictures of the source, the sag and the stain, plus the moisture map, make the case. Coverage depends on the policy, so check with your own insurer. Burnsville's ceiling leak page covers the main city, and meltwater leaks are on ice dam water damage.
Ceiling leak water damage across Savage and nearby towns
The Savage restoration crew handles ceiling leaks across ZIP 55378, including Downtown Savage, Glendale, Hamilton Ridge and Dufferin Park, in attached and detached homes alike, as well as neighborhoods along Highway 13.
The same service nearby: ceiling leak water damage in Burnsville, Bloomington, Lakeville.
Related water damage services in Savage
Ceiling Leak Water Damage questions in Savage, MN
01Is it wise to poke a hole in a sagging ceiling?
Only after everyone has moved away and a bucket is positioned. Releasing the low point can stop the full ceiling from dropping.
02How is this different from a roof leak?
A ceiling leak comes from plumbing or an appliance inside the house. A roof leak comes from outside and also needs a roofer.
03Must the whole ceiling come down?
Rarely. Weakened board is cut out, and the remaining drywall can often be dried by pushing air into the bays.
04Why is the damp patch wider than the drip?
Water spreads over the top of the board and along the joists before it finds a way down.
05Can a townhome leak affect the unit below?
Yes. With 2,486 attached homes in Savage, water can pass downward, so each affected unit is mapped and documented.
06How many days will it take?
Three to five days is typical once the source is fixed and air reaches the joist bays.
Ceiling leaking in a Savage home? Get it dried.
Water moves along the joists before it shows. The crew maps the spread before it cuts.
Burnsville Water Damage Restoration · Burnsville, MN