Appliance Leak Water Damage in Savage, MN
A slow drip behind a dishwasher or a burst washer hose can soak the subfloor out of sight. The restoration crew locates the wet zone using meters and dries it in place where possible, so the kitchen stays largely intact.
(888) 432-4933Appliance leaking? Call now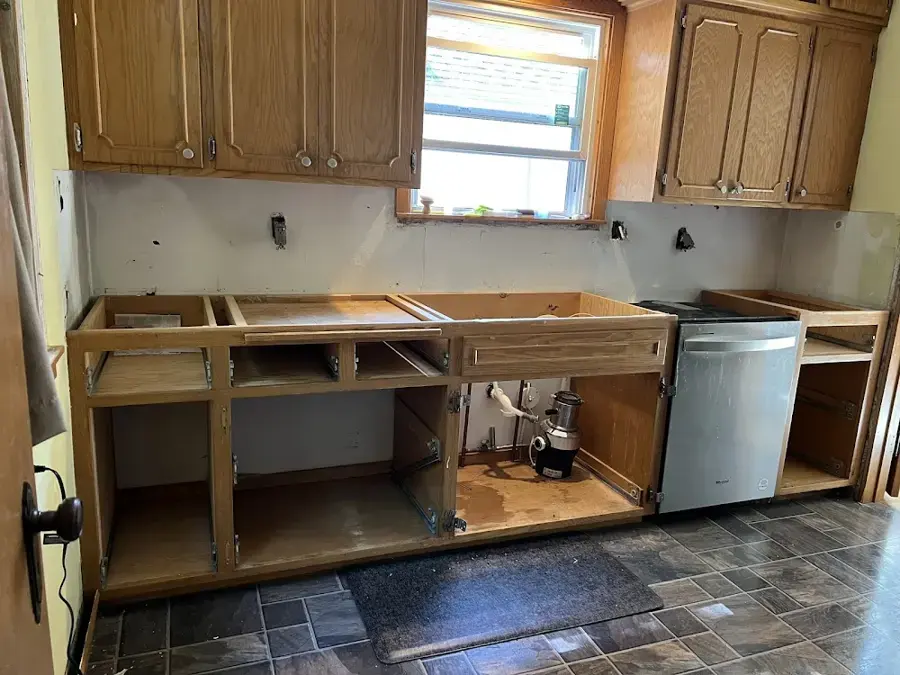
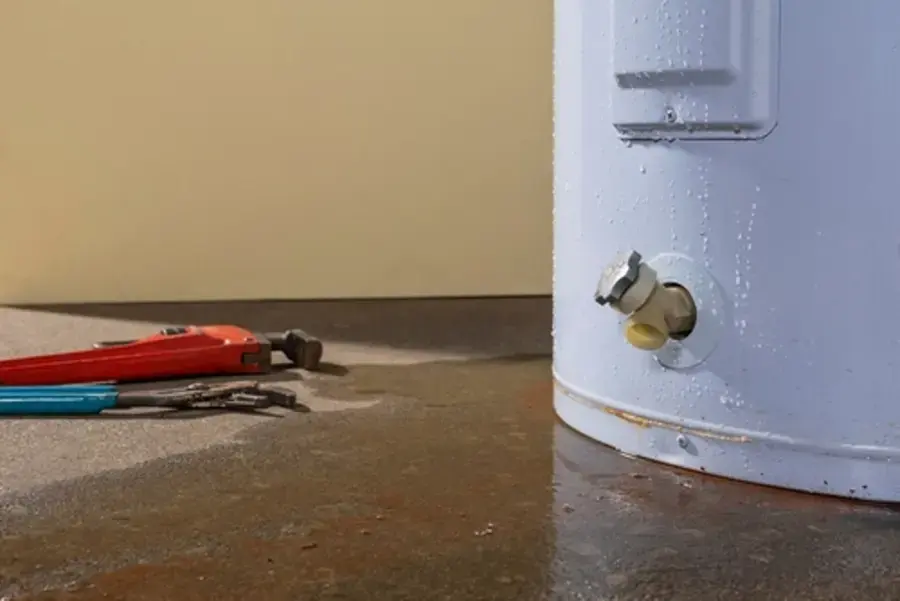
Supply hoses carry clean water and drain hoses carry gray water. Which one failed settles the category, and the category settles how much can stay in place.
First steps for appliance leak water damage in Savage
Close the valve
Turn off the supply valve behind the washer or under the sink, or the main.
Cut power safely
Pull the plug only while standing on a dry surface.
Clear the floor
Take out rugs and stored items, but leave heavy appliances in place.
Save the evidence
Keep the split hose or fitting and photograph it.
How appliance leak water damage is handled in Savage
The tech who does the walkthrough maps moisture before any equipment goes down, so the drying plan matches what is actually wet. Equipment stays until the readings say dry, not until it looks dry.
- 1
Locate the water
Meters scan under cabinets, beneath flooring and in the ceiling below.
- 2
Take out the pooled water
Standing water and soaked flooring are extracted.
- 3
Make airflow paths
Toe kicks, cabinet bottoms or planks come off where readings demand.
- 4
Dry and confirm
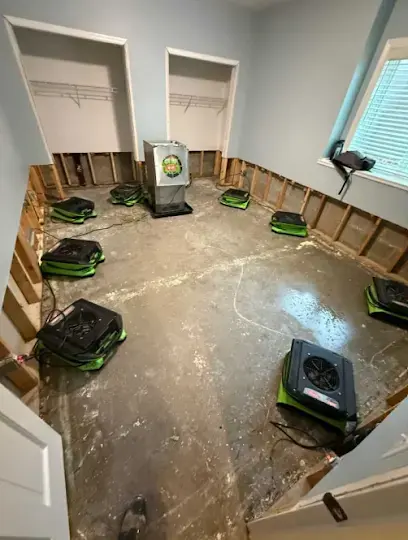
Air movers, mats and LGR units run until the numbers reach the goal.
Appliances behind most kitchen and laundry leaks
In a house built any time from 1980 on, the same few parts do most of the damage. Attached homes add a second concern, because a laundry leak can reach the ceiling of the unit below.
- A washer hose that splits while the machine fills.
- A dishwasher inlet or drain connection beneath the sink.
- Ice maker tubing that cracks or slips off its fitting.
- A sink drain or disposal that weeps into the cabinet.
Drying under cabinets and floors
Checks start under the appliance, then move to the cabinet bases, the area under any floating floor and the ceiling below. Standing water is extracted, and toe kicks or cabinet bottoms are opened wherever meters show dampness underneath. Laminate and vinyl plank sit on a pad that traps water against the subfloor, so some planks are lifted. Air movers, drying mats and LGR dehumidifiers finish the work, and structural drying explains the setup.
- Toe kicks come off so air can get under the cabinet boxes.
- Gray drain water gets an antimicrobial treatment.
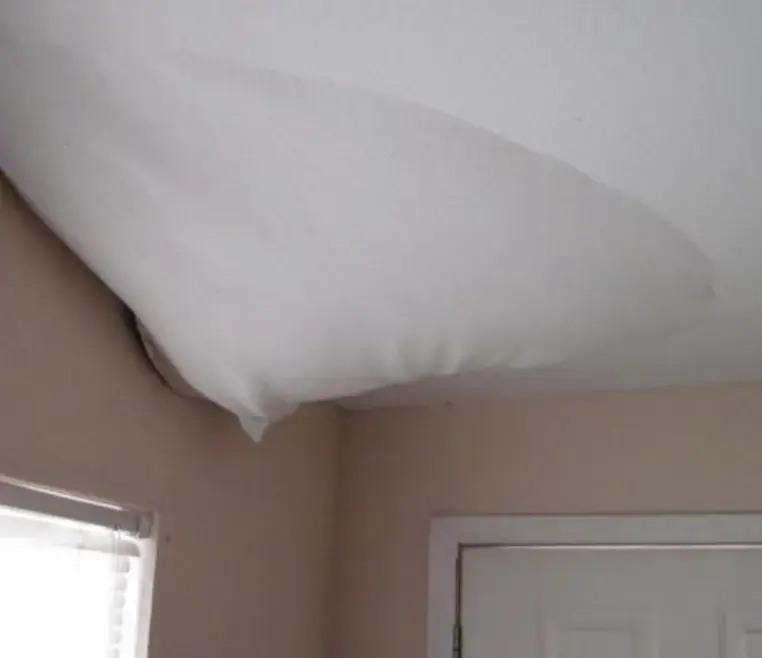
- The ceiling beneath a laundry room is scanned for moisture.
Paperwork after an appliance leak
Insurers often cover a sudden hose burst but not a drip that rotted a subfloor over months. Keep the broken hose or part and photograph it next to the damage. Coverage depends on the policy, so check with your own insurer. Burnsville's appliance leak page covers the main city.
Appliance leak water damage across Savage and nearby towns
The Savage drying team covers kitchen and laundry leaks across ZIP 55378, including Glendale, Hamilton Ridge, Redtail Ridge and Dufferin Park, in townhomes and detached homes alike, along Highway 13 and County Road 42.
The same service nearby: appliance leak water damage in Burnsville, Bloomington, Lakeville.
Related water damage services in Savage
Appliance Leak Water Damage questions in Savage, MN
01Do the cabinets have to come out?
Usually not. Taking off the toe kicks and adding a few small holes moves air beneath the cabinet boxes, although particleboard that has swollen may be replaced.
02Where does the water under a floating floor come from?
The floor rests on a thin pad above the subfloor, so water that gets in stays trapped beneath it. Some planks are lifted so the subfloor can dry.
03How clean is water from a washer?
A burst supply hose gives clean Category 1 water, while the drain side is gray Category 2.
04Can a laundry leak reach the unit below?
Yes, in attached homes. Savage has 2,486 of them, so ceilings below a laundry room are checked for water.
05Is a hose burst covered?
A hose that suddenly bursts is often a covered event, while a slow seep usually is not. Read your own policy and save the failed part.
06How long will drying take?
Three to five days is typical once air can circulate beneath the cabinets and flooring.
Appliance leaking in Savage? Start the drying.
Hidden water beneath cabinets keeps soaking the subfloor. Meters find it before the damage grows.
Burnsville Water Damage Restoration · Burnsville, MN